How to Ferment a Perfect Jar of Veggies
Almost fifteen years ago, well before the fermentation craze caught on, I started learning about fermentation. After some friends did a workshop with the now-infamous Sandor Katz, I got his book Wild Fermentation, and read it cover to cover. Then I got to work. I did some experiments, and from these projects - and from my friends’ - I learned a lot.
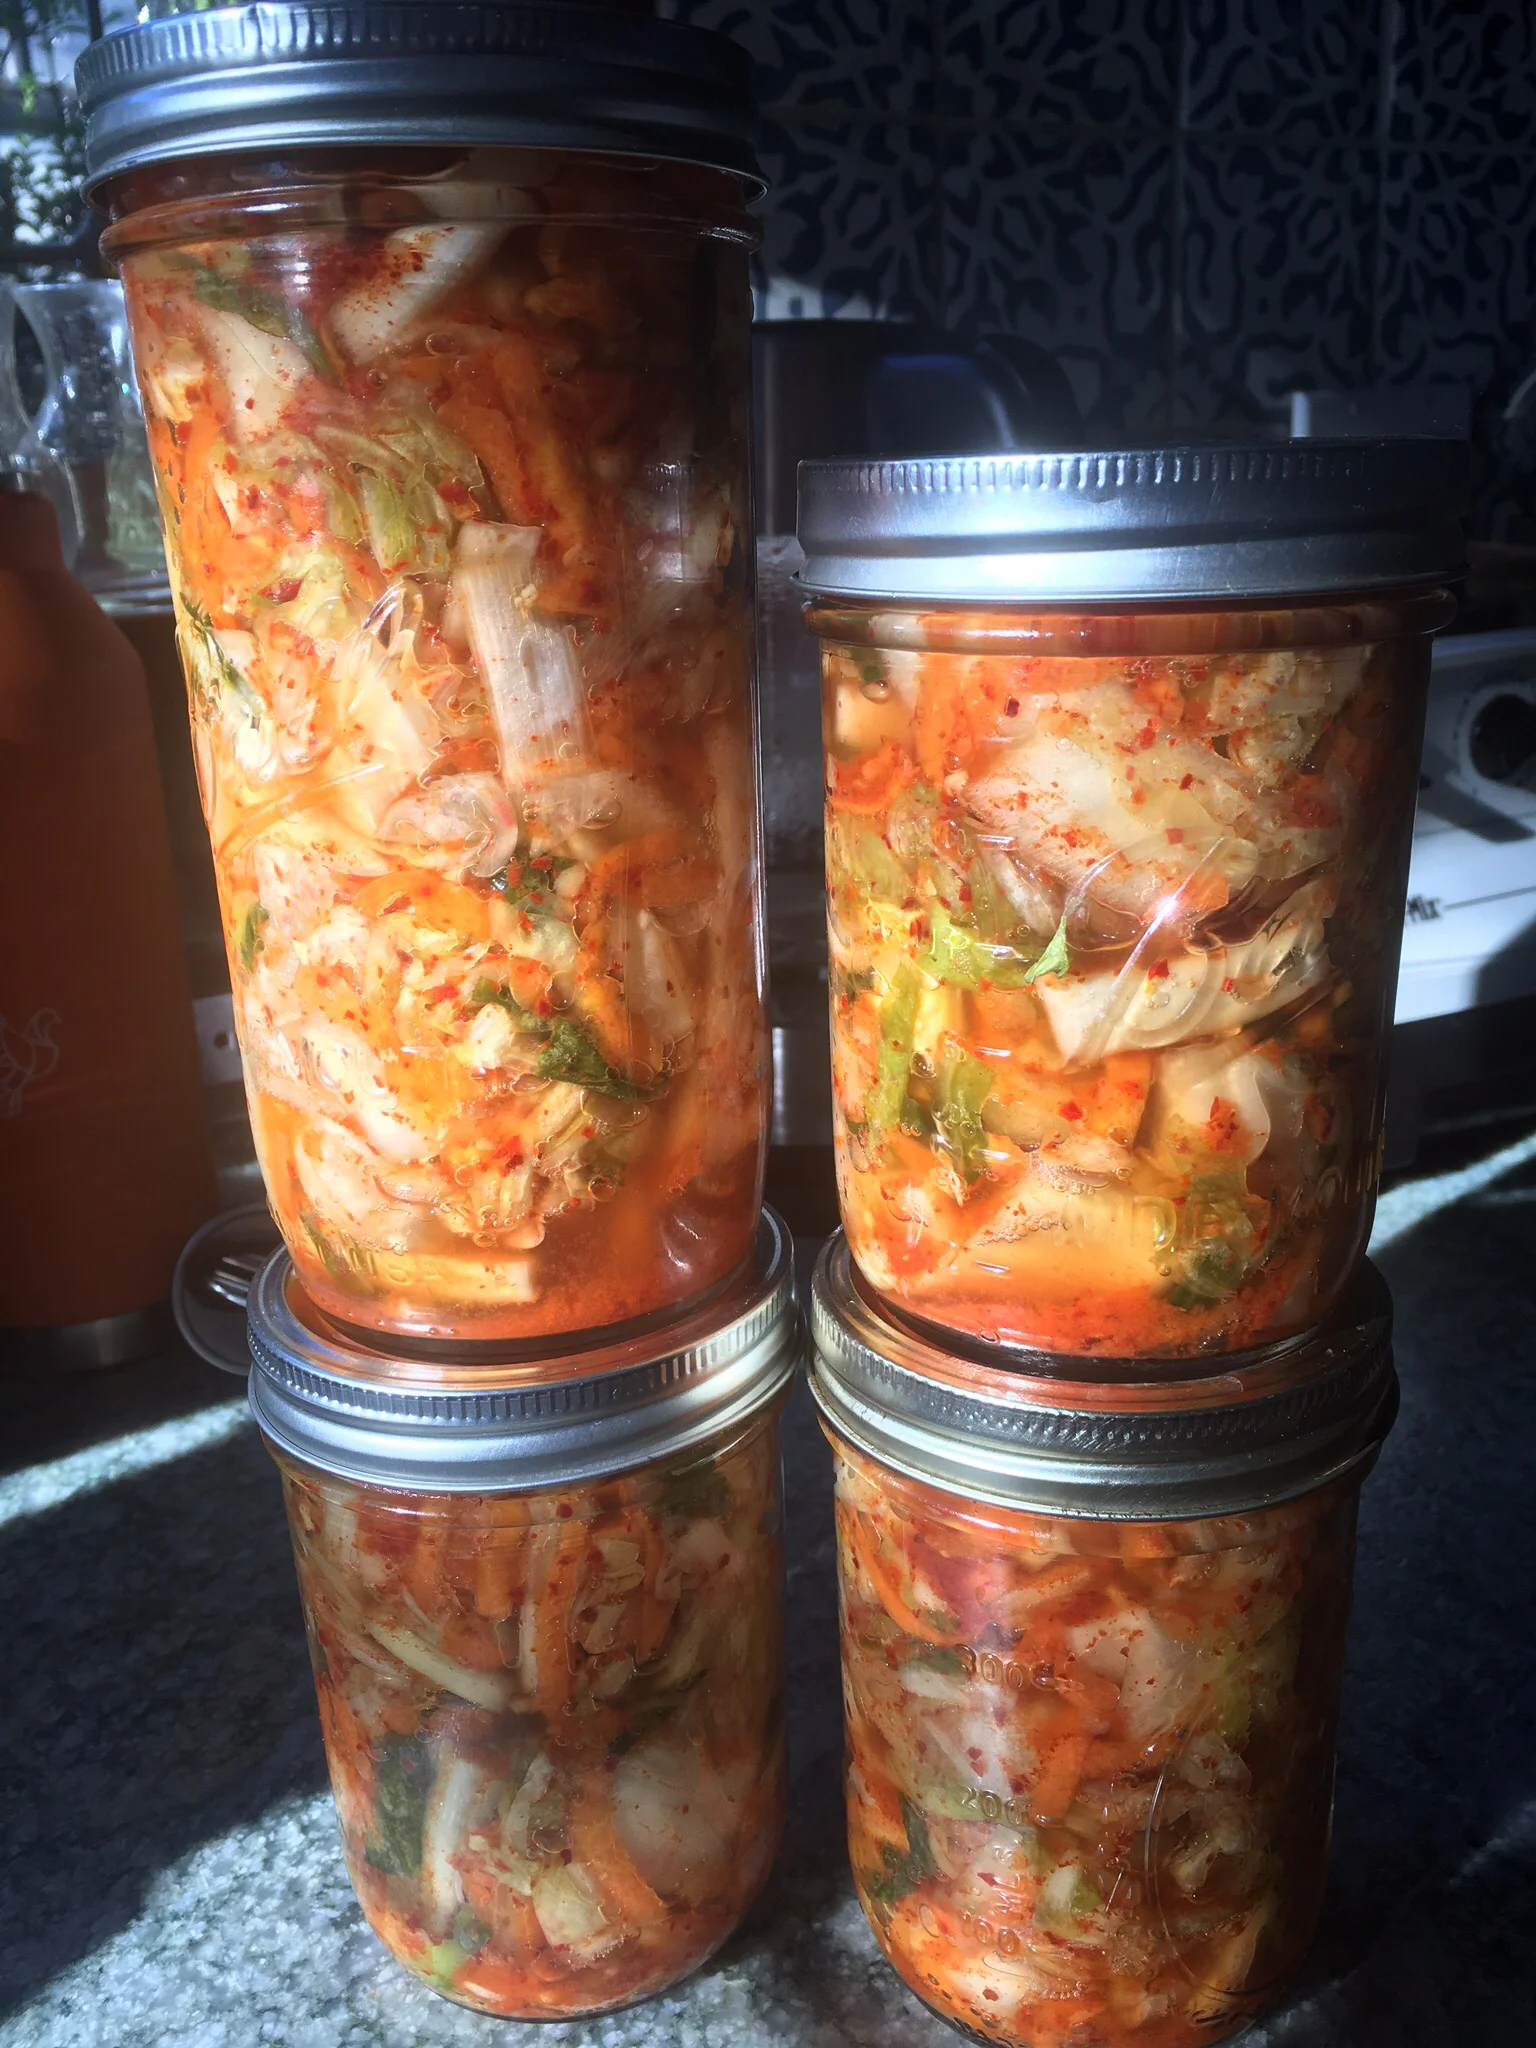
Quickly, I became hooked on making jars of fermented veggies. Quick to put together, requiring very little equipment, and yielding big flavor, I was hooked. In addition, these jars of crunchy goodness cost only a fraction of what local small businesses were charging for smaller amounts. All great reasons to get on the bandwagon and start creating your own small batches! The best way to have the tastiest, tangiest, most alive and nutritious fermented goodies is to make your own. It’s easier than you think!
why ferment?
Raw and unpasteurized fermented foods made with traditional methods of lacto-fermentation have been used for hundreds of years throughout the world to preserve vegetables, milk, grains, meat and fish for longer storage. The products of this time-honored process of natural fermentation benefit the digestive system in several ways. They increase healthy beneficial flora in the intestinal tract, help ward off unhealthy bacteria and viruses, and provide our bodies with enzymes that aid in digestion, enhance vitamin and nutrient absorption, and assist with metabolic functions. Fermentation can actually increases the nutrient values and availability of the vegetables — a big win!
While there are other molds, yeast, and bacteria that help break down the original ingredients to create a more nutritionally superior food, lactic acid is what is most prevalent in “wild fermentation.” The lactic acid bacteria that are naturally available on the outside of healthy vegetables actively convert the sugars in the vegetables into lactic acid and carbon dioxide, hence the bubbles that often result. The lactic acid bacteria in fermented foods nourish the gut bacteria and help them produce natural antibiotics, natural anticarcinogenic compounds, and compounds that retard or inactivate toxins and poisons. These lactobacilli can completely eliminate an antinutritional compound in soybeans, hence the notion that fermented soy products are more healthy. Also, undesirable phytic acids found in grains, beans, and seeds can be totally removed when fermented. All in all, eating fermented foods regularly is a great idea for nearly everyone!
Instructions + Equipment
Making your own fermented veggies is easy as can be.
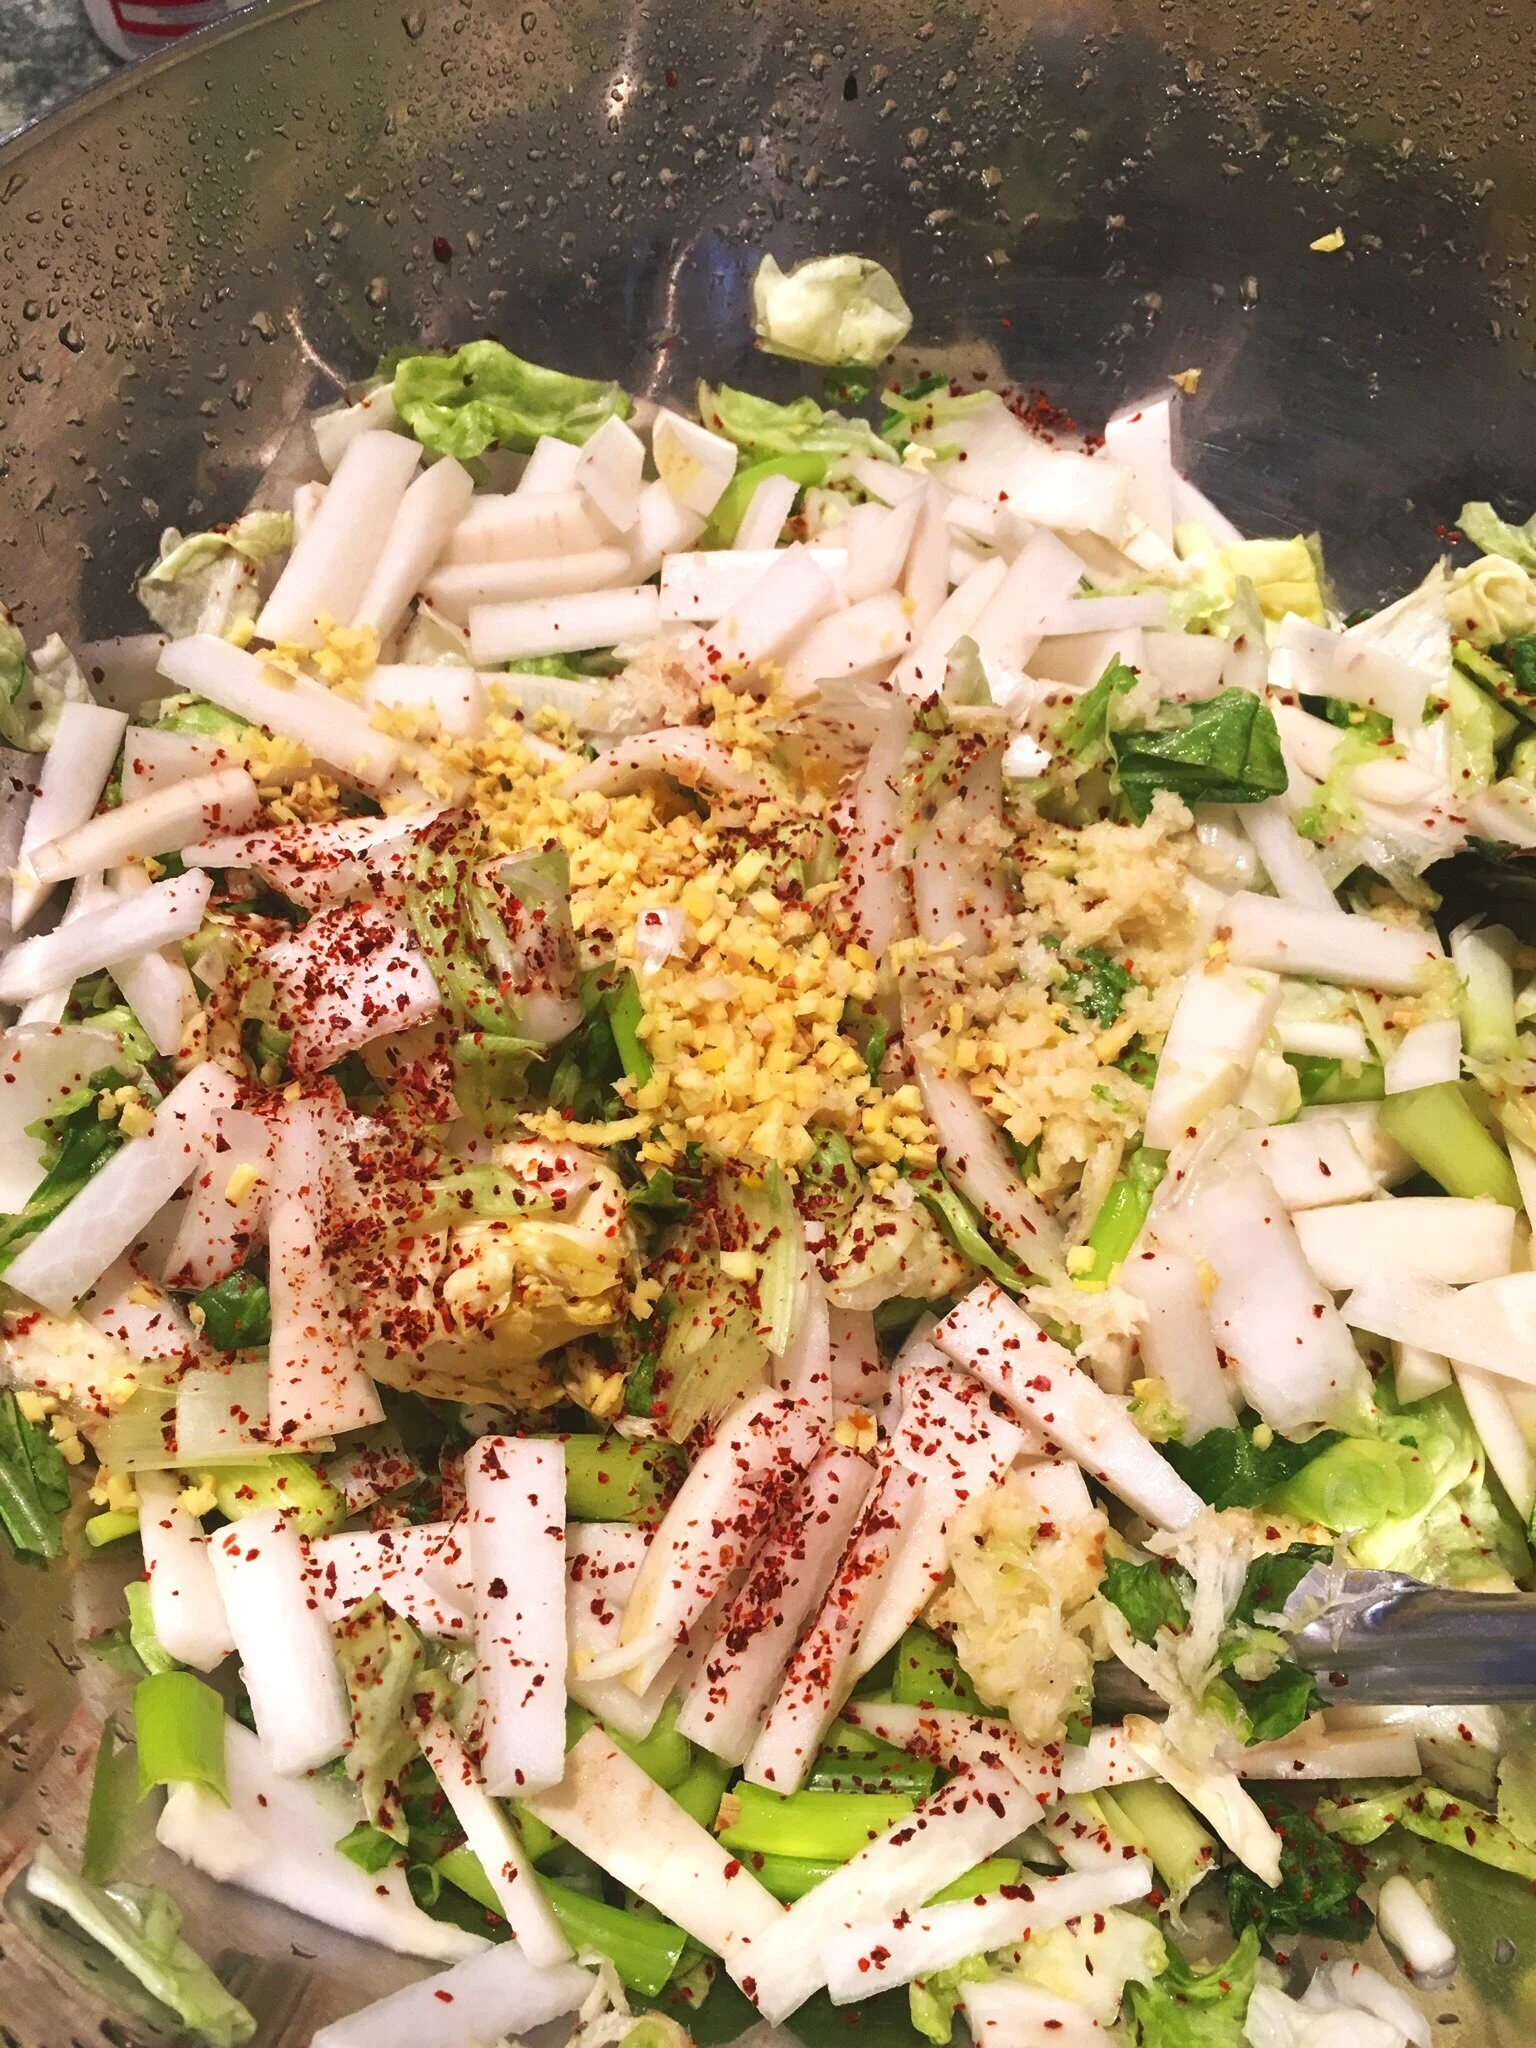
First, you need a large bowl (Ikea makes great stainless steel ones larger than any kitchenware store has.) Fill the bowl with a mix of vegetables. Include onions or other alliums like scallion r leek, also ginger, garlic. Whatever herbs or spices you might desire. Also seaweed!
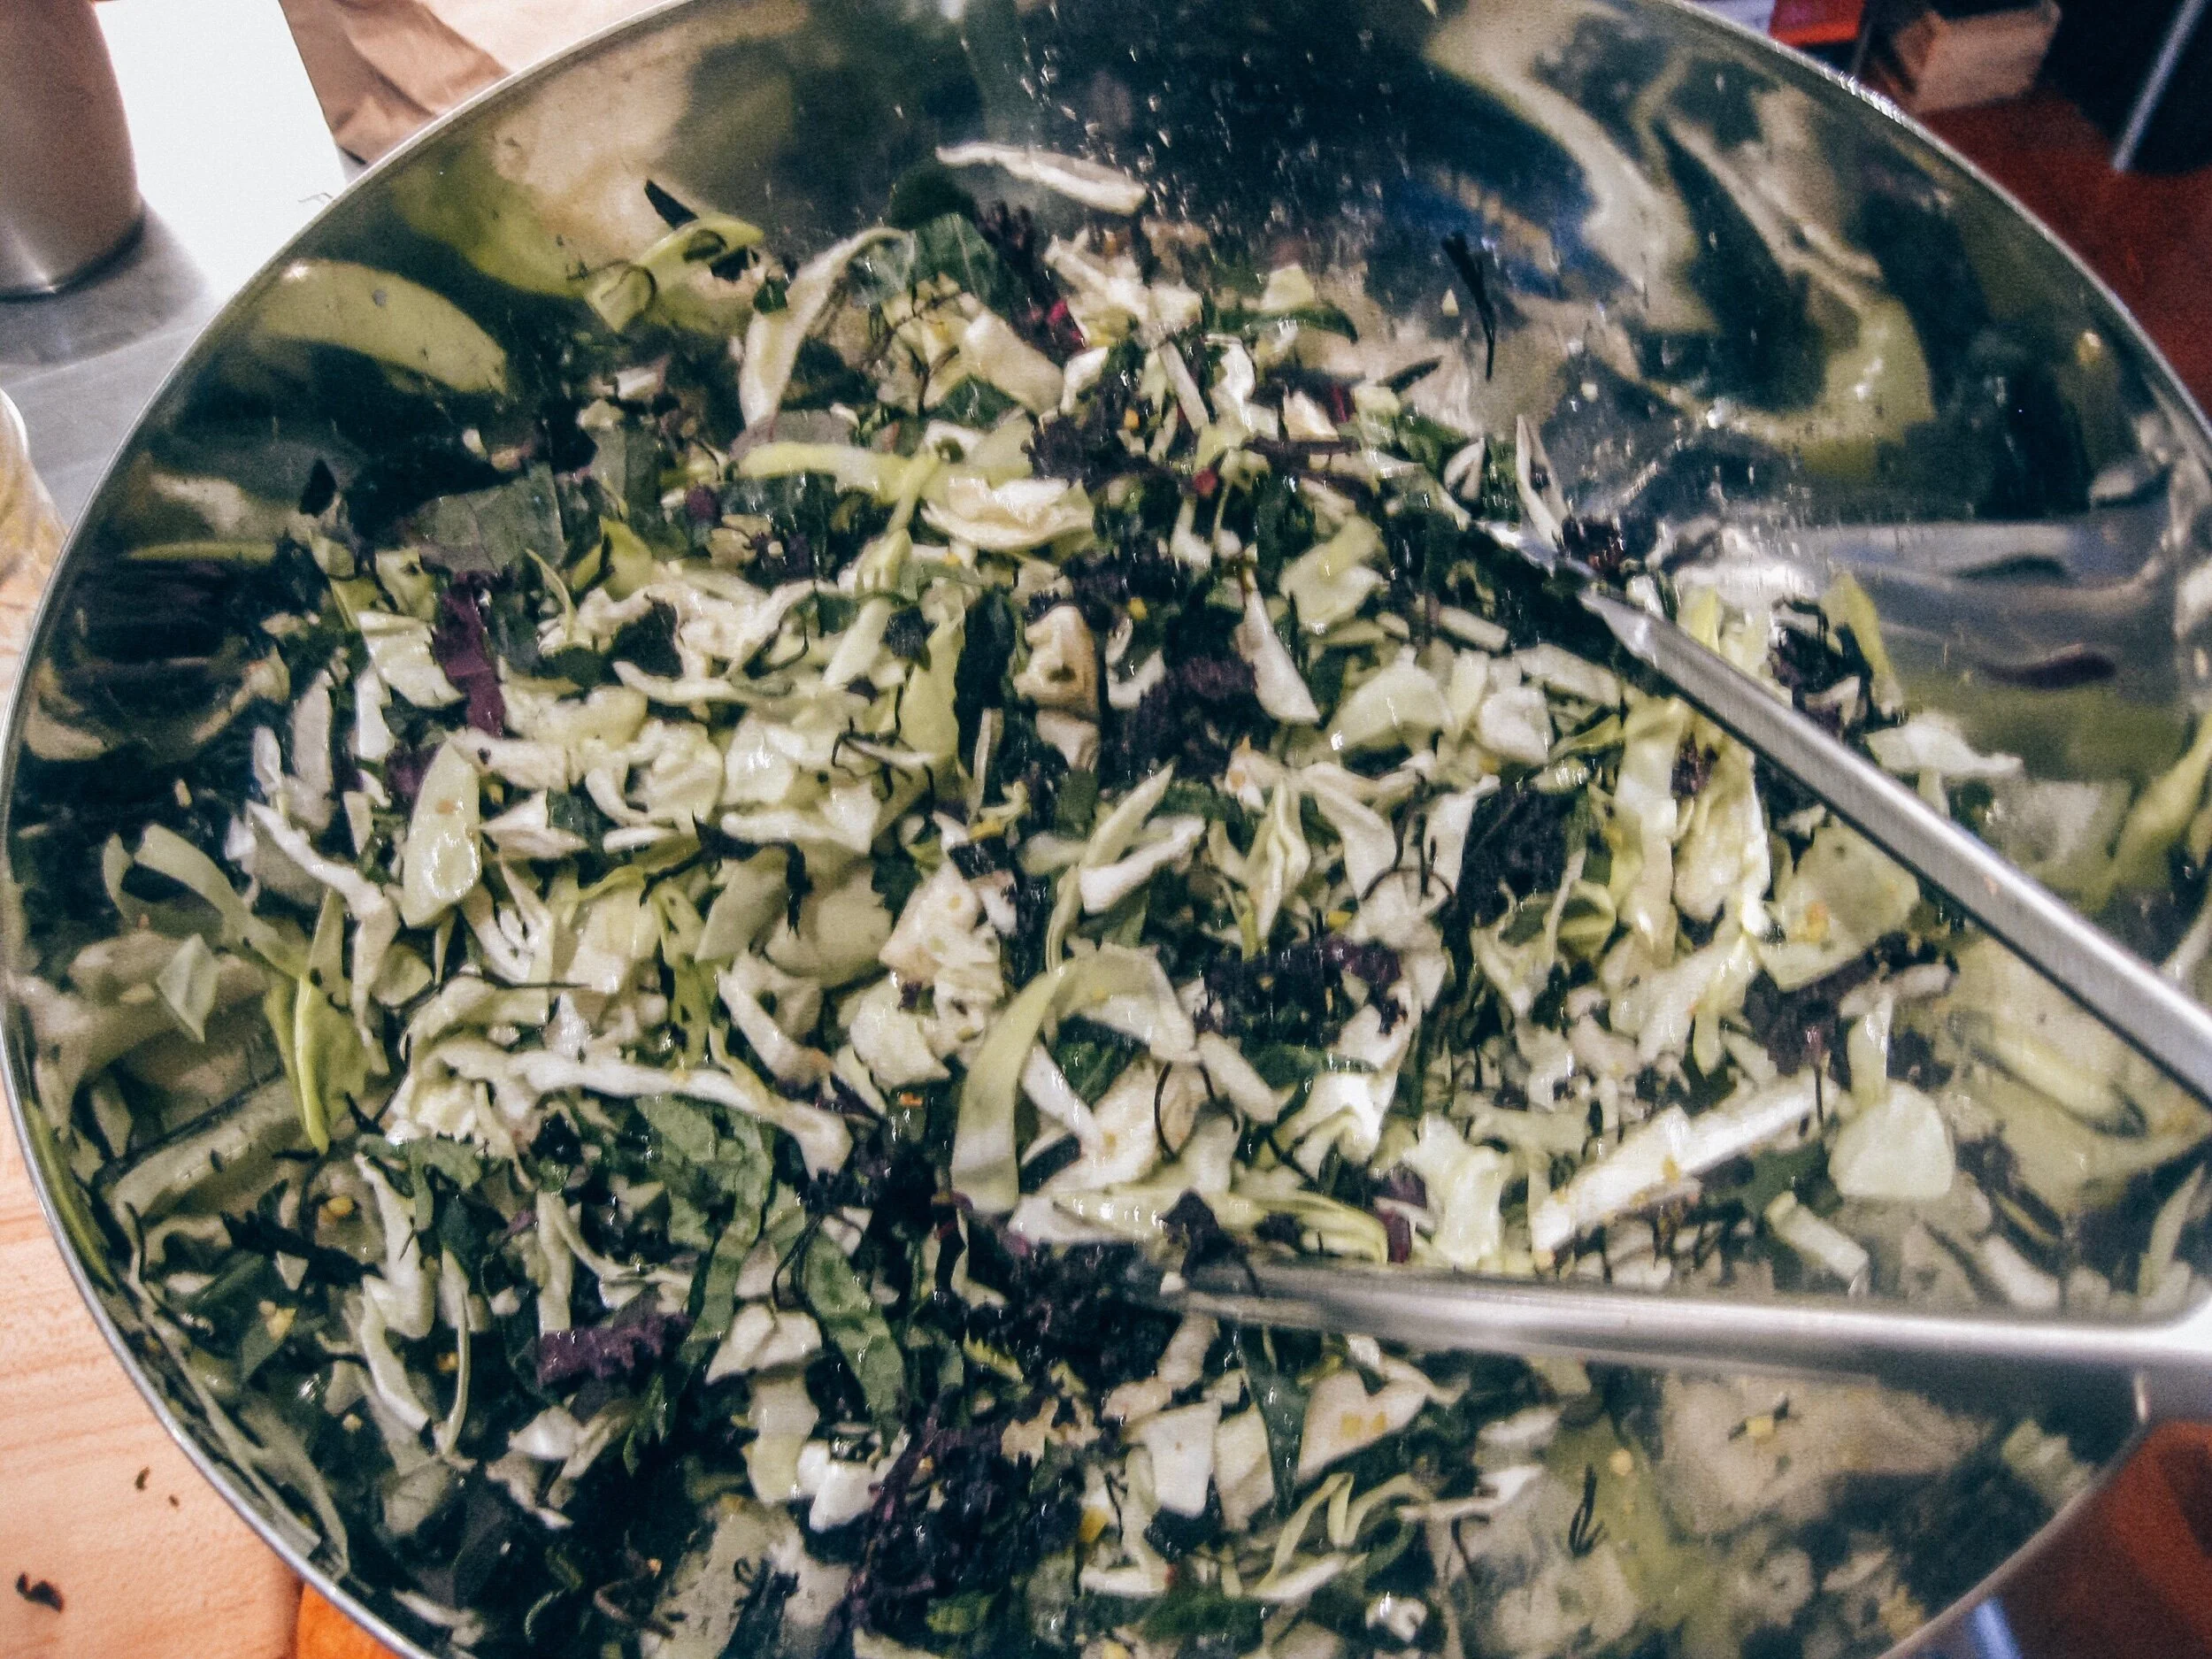
Next, season the mixture with plenty of salt, enough so that when you taste the mixture, it tastes good - like, “I want to eat this right now GOOD”! Mix everything up really well, including a small bit of water to moisten the mix (trust me on this). I suggest getting and using a pair of sturdy tongs as it makes it much easier to get things mixed well efficiently.
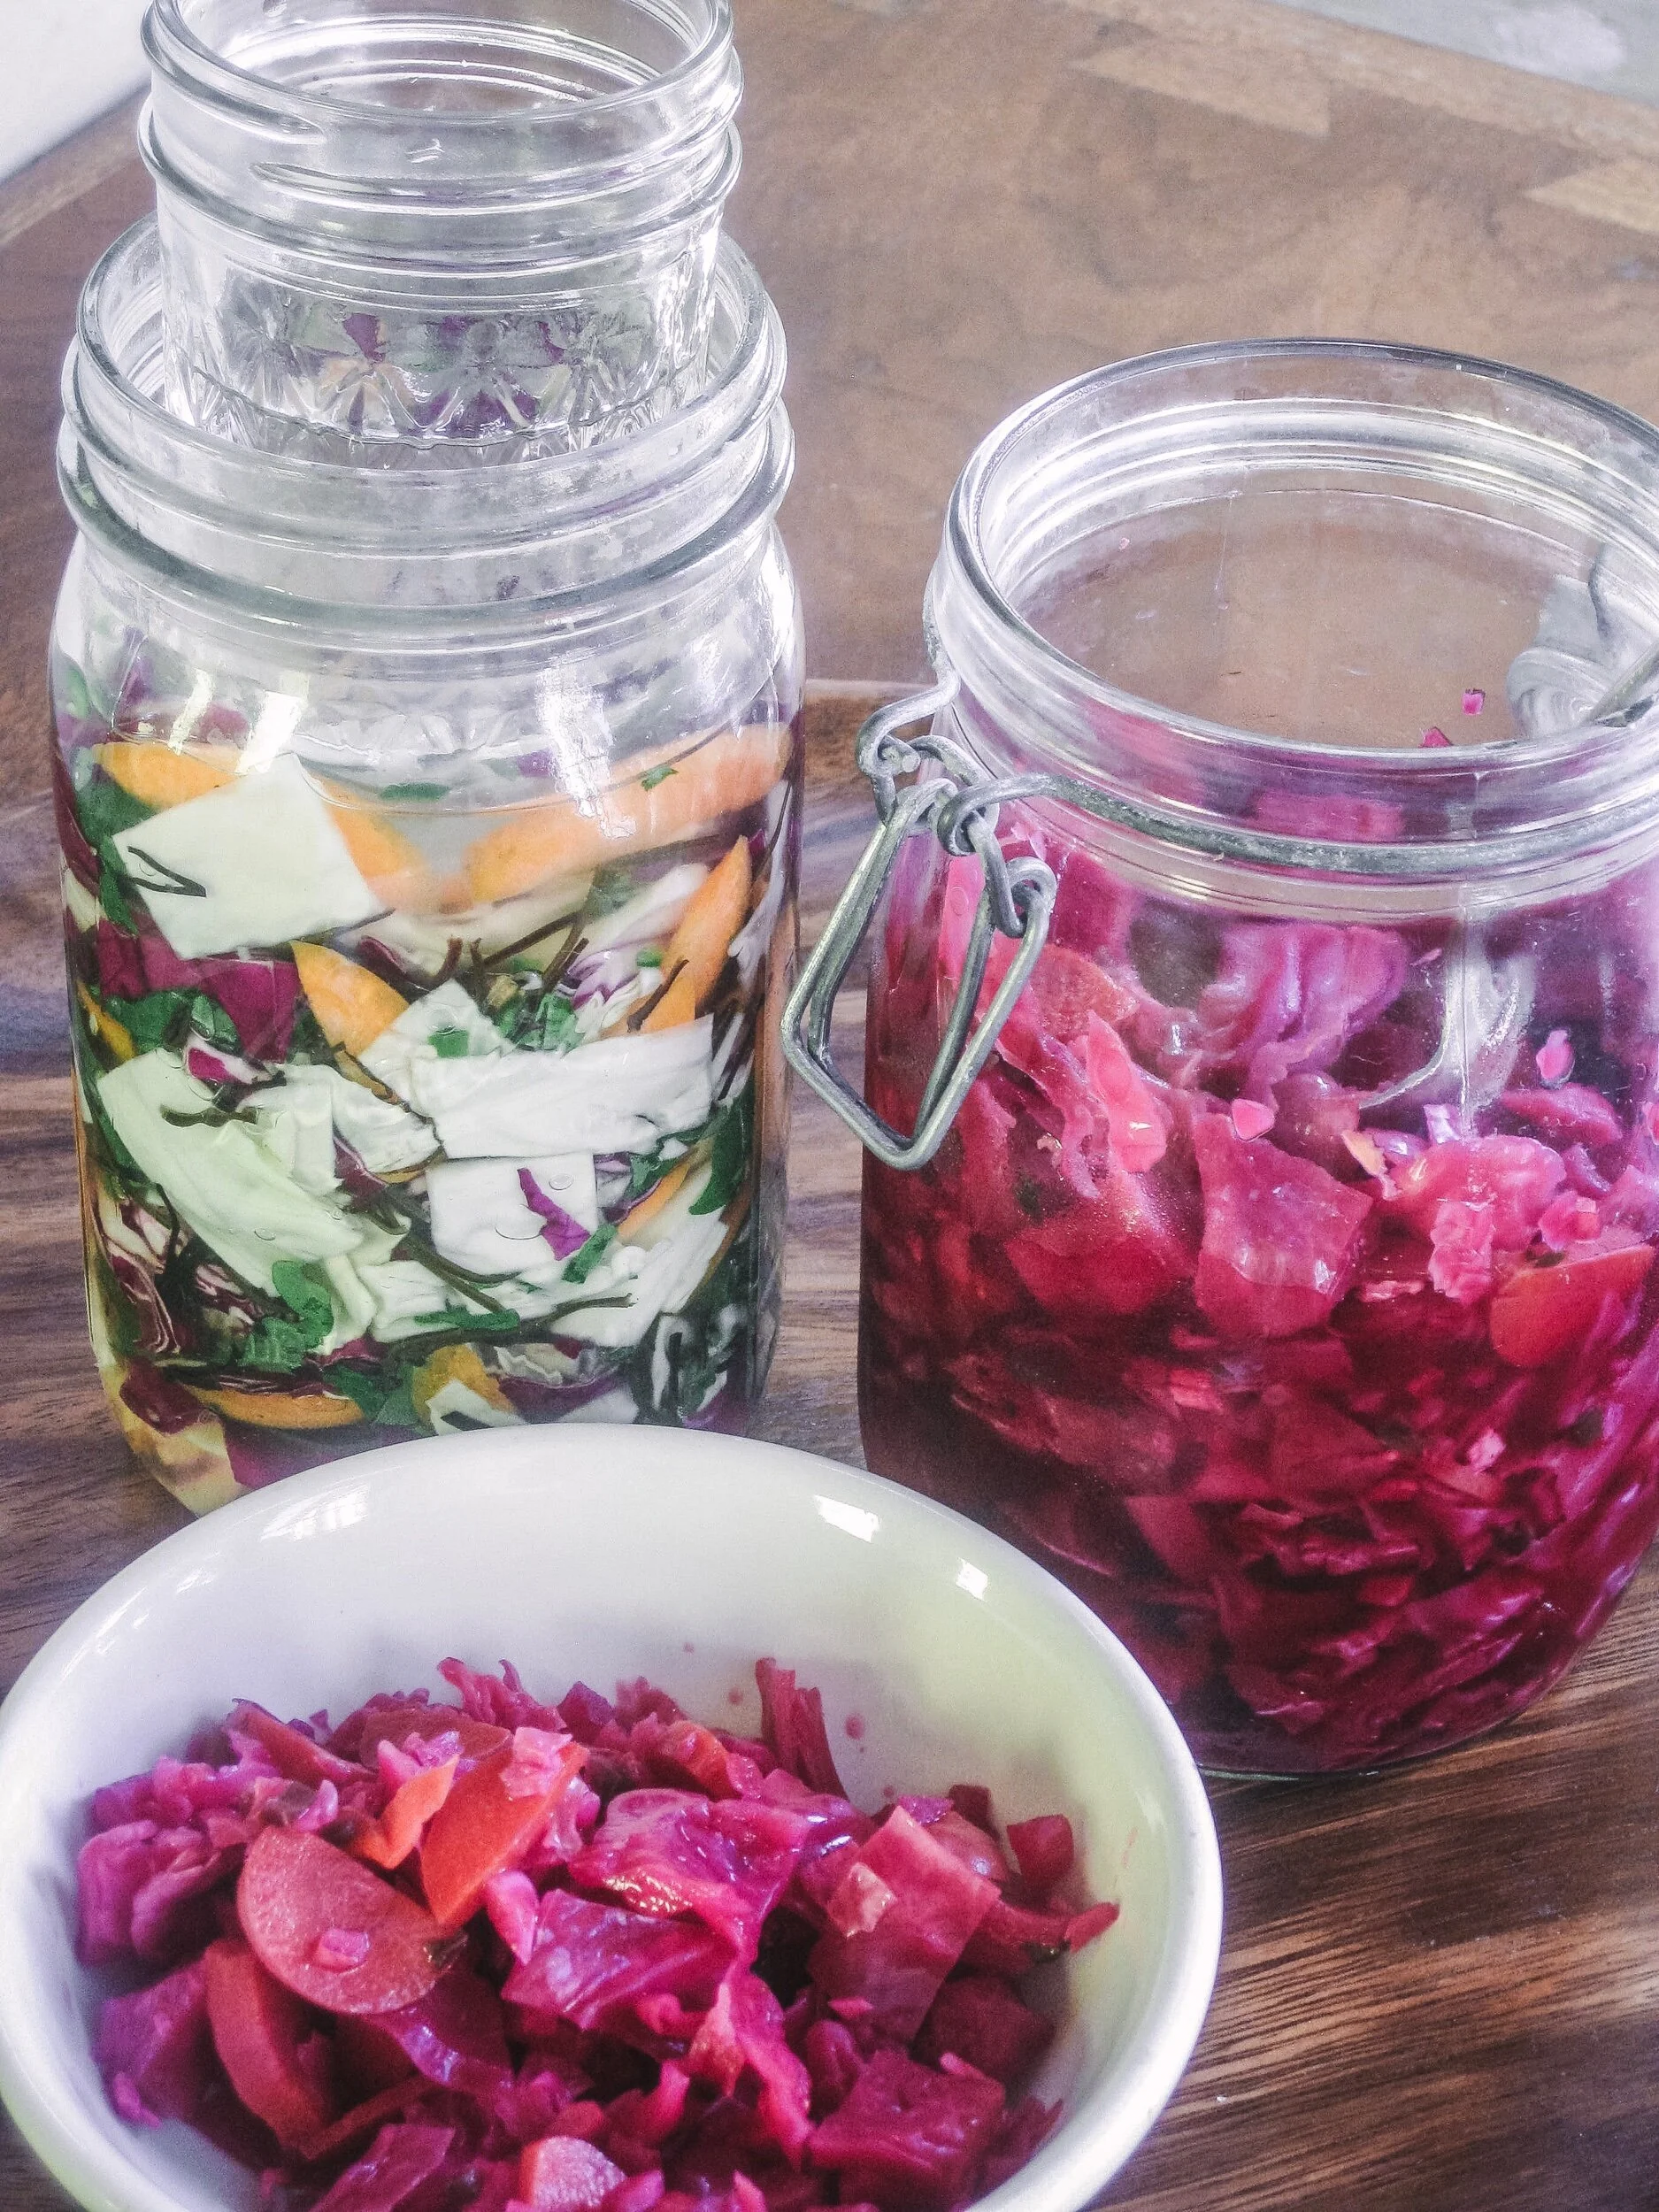
The tongs are also the best tool for transferring your mixture over to a super clean glass Mason jar. I use mainly quart size ones, but you can do bigger or smaller. Next, really tamp the mixture down into the jar with vigor using a wooden tamper tool like this one, adding more until the jar is solidly filled with veggies.
At this point, you want to make sure there is adequate liquid in each jar to cover the veggies when you push them down, so if there’s not, add more brine or water plus a little extra salt. That’s it.
You will now let the jar sit on your counter where you will see it and remember to push the veggies down a few times a day. I like to leave mine by the kitchen sink, and find morning and evening work best for me, as I’m usually washing dishes so see the jar and remember to tend to it. Of course, you can loosely cover the jar with a lid if the smell gets to be too much for you (garlic!) but don’t seal the veggies in there and forget about them.
Taste your veggies daily to assess when they are most delicious to you and you can’t wait to eat some. Once you really enjoy them, you can then store them in the refrigerator which will essential stall the fermentation process. That’s it. Easier than you imagined, right? Don’t miss all the rest of the essential tips below.
Ingredient Template
Some ideas for you to get started are below, but don’t forget to experiment with your own unique combinations and whatever you might happen to have on hand from your local shop, garden or farmer’s market!
Chopped or shredded veggies — mix and match as you please
Flavorings such as:
chopped onions
shallots, or scallions
whole cloves or chopped garlic
ginger chopped or sliced thinly
chilies, fresh or dry, whole or not
chopped fresh herbs
dry spices
any seaweed you prefer, either in small flakes or soaked in water and then choppedSea salt for sprinkling generously and/or brine made TO TASTE or about 1 tablespoon salt per cup of water
Some tasty combinations:
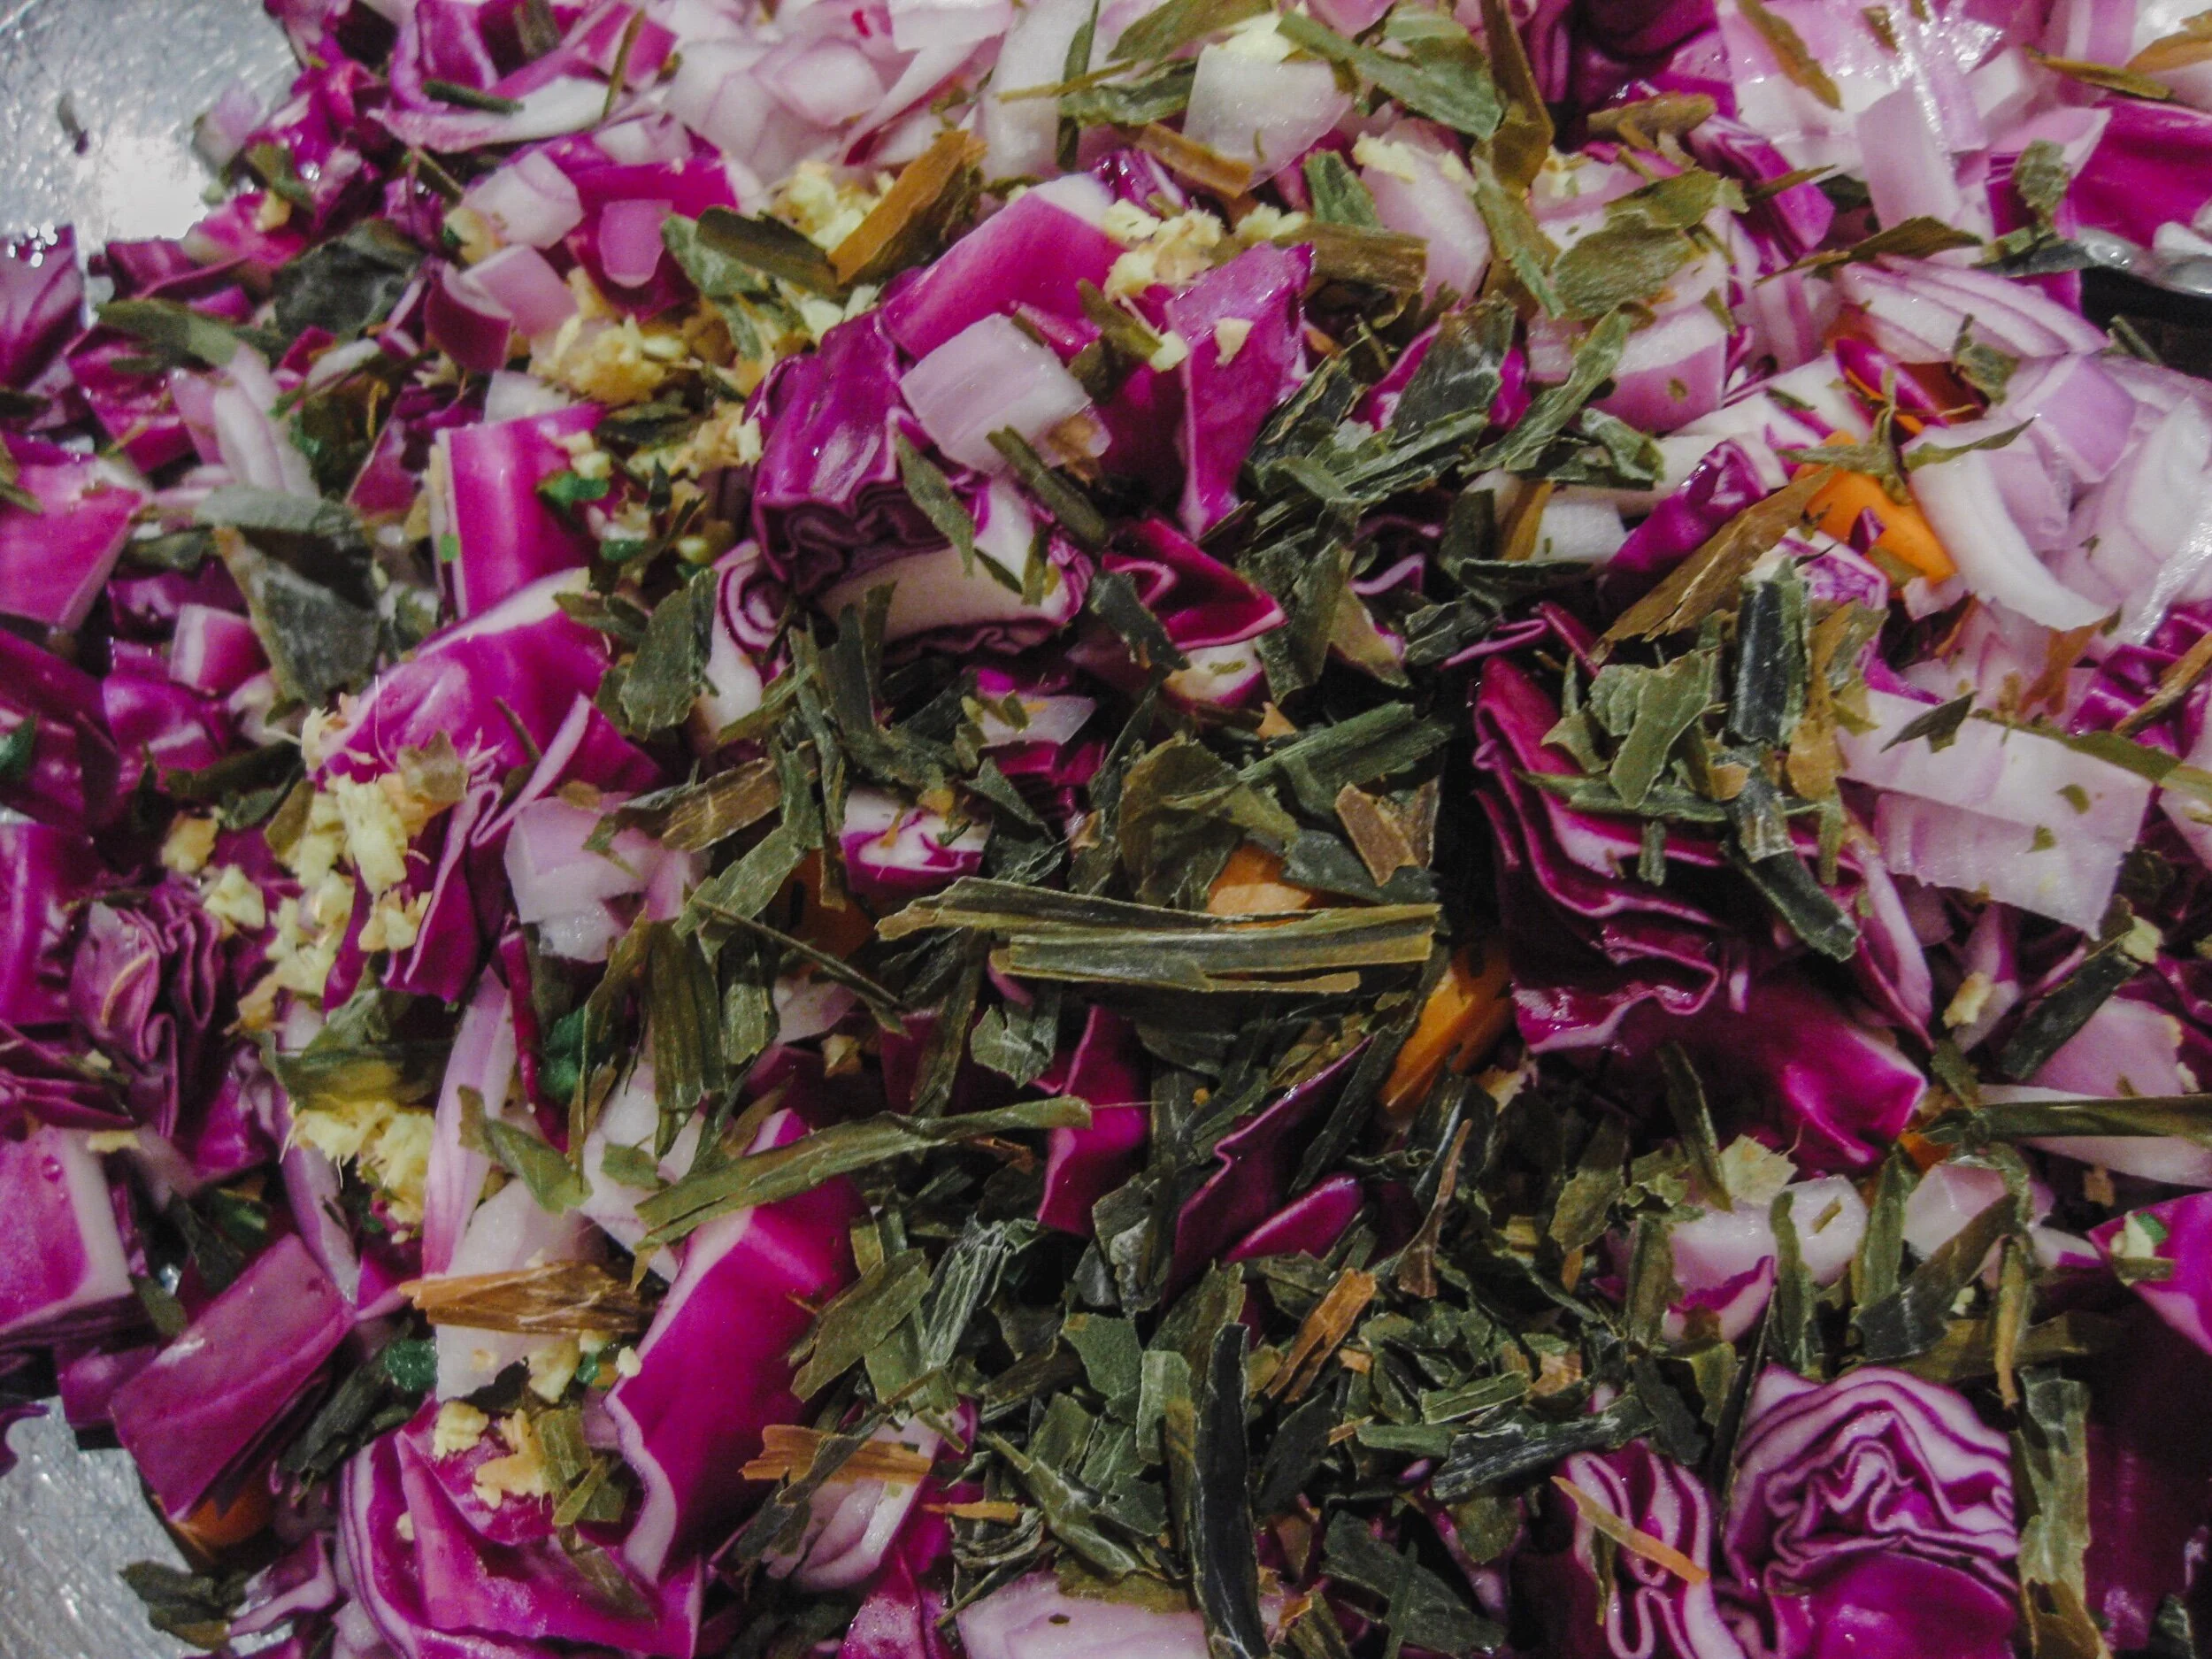
Red cabbage, carrots, red onions, radishes, ginger, garlic, and lots of chilies for kimchi-style
Shredded white cabbage, dill, lemon juice and zest, and garlic
Shredded beets, carrots, fennel, and/or cabbage, and ginger
Beets and caraway seeds
White cabbage, white miso, and whole coriander seeds
Whole small cucumbers, dill, garlic cloves, peppercorns, pickling spice (which can include any of the following: ginger, chilis, mustard seed, coriander, allspice, cinnamon)
More Essential Tips for a Jar of Crunchy Goodness
*Of course it is best to use organic and seasonal vegetables and herbs, unrefined sea salt (Himalayan or Celtic) and pure water free of any fluoride or chlorine.
*A temperature of around 70 degrees is ideal and will ensure a lactic-acid environment in about two to four days, though the process can be continued for up to six weeks. As the ferment matures, its flavors become more intense and piquant. In warm temperatures, the fermenting will proceed relatively quickly; vice versa: in cooler temperatures, the fermentation process is slower, as in when you put a ferment in the fridge and the process nearly halts. Similarly, more salt in the mixture slows the process; less salt allows it to proceed more hastily.
*It is important to make sure the vegetables are covered with adequate brine (or their own juices, or some like to use freshly made celery juice) to cover them, and that they are submerged, at least most of the time.
* Make sure your mix of veggies is seasoned liberally, the way you would like it if it were served to you as a salad perhaps. I like to make a brine by mixing my salt with warm water for a mixture that is salty like the sea. Once your vegetables are all together in a giant mixing bowl, you can pour this over your veggie mix to taste. Make sure you have enough liquid by adding additional water as needed and brine to taste.
* To keep the veggies submerged in the brine once they are in the jar in which you are going to ferment them, you can either weight it down with a plate topped by heavy objects, a plastic bag filled with water, or simply keep an eye on it and push the veggies down into the brine periodically each day. This last option is what I do, and I find it helps if I keep the jars somewhere I am bound to see them and recall that I must do this every morning and evening. This prevents mold growth on the top layer of vegetables. If a layer of whitish mold does bloom on top, that’s ok, but you must either scrape it off or pick it out. The mixture below is usually fine as it is under the anaerobic protection of the salty brine. If the entire container has gone bad, you will undoubtedly recognize it by its putrid small. Trust me, you won’t want to consider it edible, so don’t worry too much!
*One other option instead of a salt brine is to use miso dissolved in liquid as your fermentation medium. Miso is also full of live lactobacilli to get your ferment fermenting even faster, and it also contains salt, some brands less than others, so you might want to add additional. Remember to never kill the good bacteria by boiling the miso, instead dissolve the miso in a small amount of water, using as much as you like, then add in more salt and water as needed, mixing thoroughly. Use this as your liquid in which to submerge the veggies.
*This kind of wild fermentation does not always produce predictable results, so each batch will surely be different than the last! Adding a small amount of whey will help assure results that are more consistent, as well as a faster fermenting time. Whey is liquid that you can drain off of yogurt. It naturally contains lots of lactobacilli that will inoculate the ferment and get it jump-started. Similarly, you can save a bit of liquid from your last batch of goodies to add to your new one to “innoculate” it and get it going. Also, another option is to inoculate with a probiotic powder especially formulated tor vegetable ferments, like Kinetic Culture available online, which has the added benefit of producing impressive amounts of Vitamin K2, an important fat-soluble nutrient.
*Remember to go easy on this stuff at first—it can be strong medicine, and if you are not used to it (or to lots of raw veggies), consuming too much of it might cause stomach distress. Start with a small amount each day, and gradually increase consumption as your body becomes used to it. The liquid brine is also alive and full of lactobacillus, so find ways to use it as well (provided you don’t just want to drink it!); it’s good added to soups, salads, dressings, and anywhere else a tanginess would be tasty!
*If adverse reactions ensure after consuming fermented veggies or ferments of any type, you might be intolerant to the histamines. No food is going to be right for every person on the planet. Listen to YOUR body!